Mung bean paste, with its subtly sweet and earthy flavor, is a culinary treasure in many Asian cuisines. It's the star ingredient in countless delectable treats, but few are as iconic as the mooncake. This traditional pastry, often enjoyed during the Mid-Autumn Festival, holds a special place in many hearts. Its rich history intertwines with family gatherings and the celebration of harvest. Making your own mooncakes, however, can seem daunting, but this recipe simplifies the process, allowing you to enjoy the exquisite taste of homemade mung bean pastries without the complexity. We'll guide you through each step, ensuring a flawless and delicious result.
Forget complicated techniques and long preparation times. This recipe focuses on simplicity and ease, making it perfect for both novice and experienced bakers. We'll unveil the secrets to crafting a perfectly smooth and flavorful mung bean paste, ensuring your mooncakes are as visually appealing as they are delicious. Ready to embark on this delightful culinary journey? Let's dive into the step-by-step instructions and create some amazing mooncakes together!
Tools Needed
- Non-stick pot
- Timer
- Blender (optional)
- Mooncake presser (optional)
Ingredients
- Skinless mung beans: 200 grams
- Water: 1 1/4 cups
- Sugar: 100 grams
- Honey: 3 tablespoons
- Salt: 1/4 teaspoon
- Unsalted butter: 1/2 stick
Step-by-Step Instructions
Step 1. Prepare the Mung Bean Paste
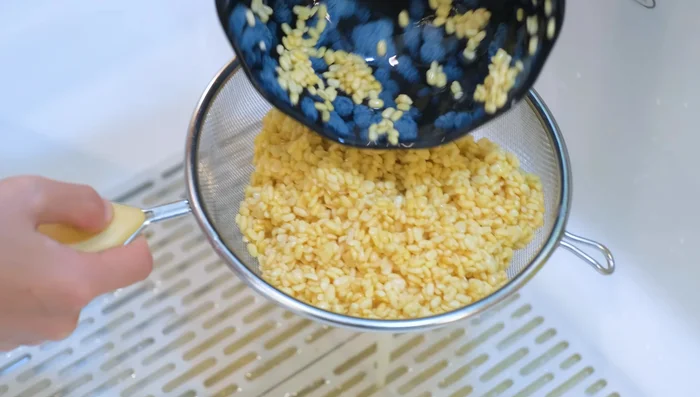
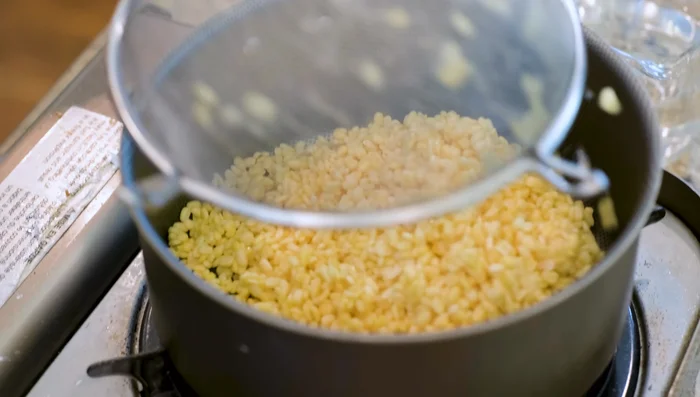
- Rinse the soaked mung beans under running water and drain completely.
- Add the mung beans to a non-stick pot and add 1 1/4 cups of water. Bring to a simmer over medium heat.
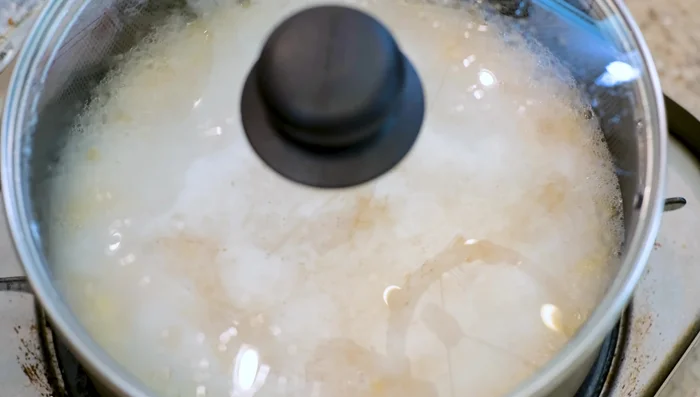
- Once bubbling, reduce heat to low, cover, and simmer for 20 minutes. Check the texture; they should be easily crushable.
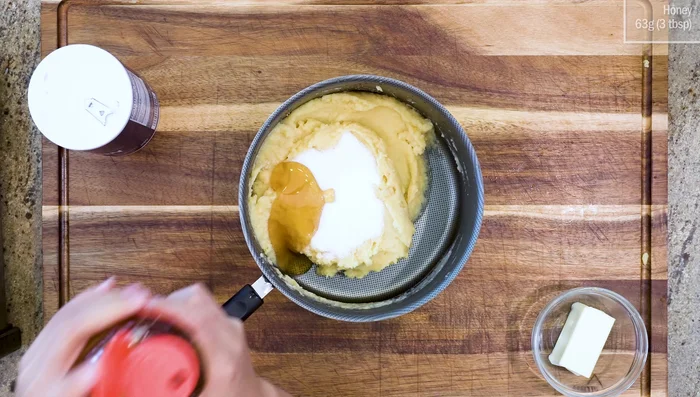
- Remove from heat and crush the beans until smooth. If using skin-on beans, use a blender.

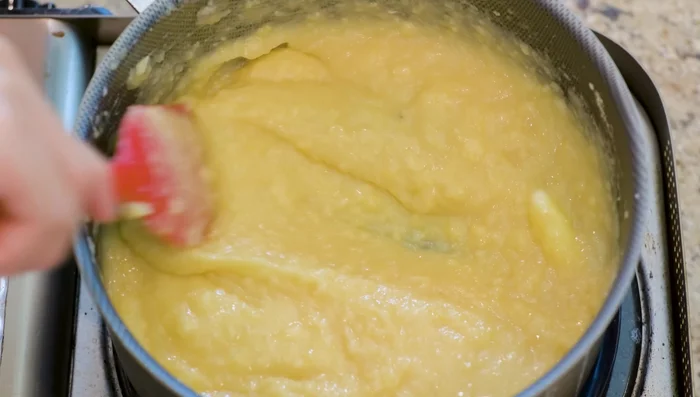
- Return the pot to the stove and stir in the sugar, honey, salt, and butter until melted.
- Cook over medium-low heat for about 15 minutes, stirring frequently, until the excess moisture evaporates and the paste thickens.
- Remove from heat and let the paste cool until you can handle it.

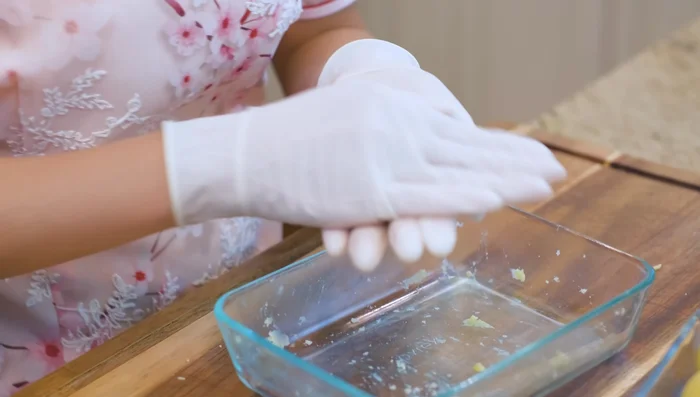
Step 2. Shape the Mooncakes
- Divide the paste into 50-gram portions, roll into balls, and shape using a mooncake presser or serve as is.
Read more: Sugar-Free Red Date Cake: A Healthy Chinese New Year Treat
Tips
- Skin-on mung beans will require about 1.5 hours of simmering and are harder to crush.
- For a vegan version, substitute coconut butter for regular butter.
- This recipe makes 10-12 pastries. Enjoy with tea!
Nutrition
- N/A
FAQs
1. Can I use store-bought mung bean paste instead of making my own?
Absolutely! Store-bought paste saves time, but making your own allows for better flavor control.
2. What if my mooncakes crack during baking?
This often happens if the oven temperature is too high or the dough is too dry. Try slightly lowering the temperature and adding a touch more oil to the dough.
3. How can I store leftover mooncakes?
Store them in an airtight container at room temperature for 2-3 days, or in the refrigerator for up to a week.
Creating these delightful mooncakes is easier than you think, offering a rewarding experience and delicious treats. Enjoy the sweet satisfaction of sharing these homemade pastries with loved ones, savoring the rich flavors and the joy of creating something special. Happy baking!