Pork lard, rendered correctly, is a culinary treasure, offering a rich flavor and delicate texture unmatched by many modern alternatives. For generations, it's been a staple in kitchens worldwide, prized for its ability to create flaky pastries, crispy fried foods, and wonderfully tender meats. Often overlooked in today's culinary landscape, lard possesses a unique character that enhances dishes in ways vegetable oils simply cannot. Its high smoke point makes it ideal for a variety of cooking methods, from deep-frying to sautéing. But the key to unlocking lard's full potential lies in the rendering process itself.
This seemingly simple task can dramatically affect the final product's quality. Incorrect rendering can result in a greasy, unpleasant taste, while proper technique yields a pure, fragrant lard perfect for any recipe. Ready to experience the difference? Let's dive into our step-by-step guide, revealing the secrets to rendering your own delicious, high-quality pork lard.
Tools Needed
- Pot
- Strainer
- Container for lard
Ingredients
- name: Pork fat
- amount
Step-by-Step Instructions
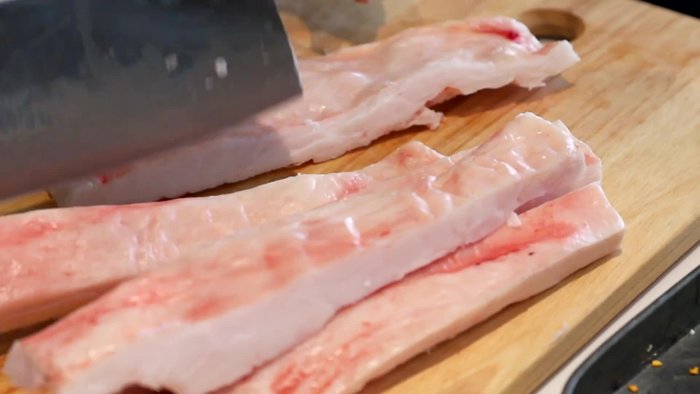
Step 1. Prepare the Pork Fat
- Begin the process of rendering pork lard. (This step likely involves cutting the pork fat into smaller pieces.)
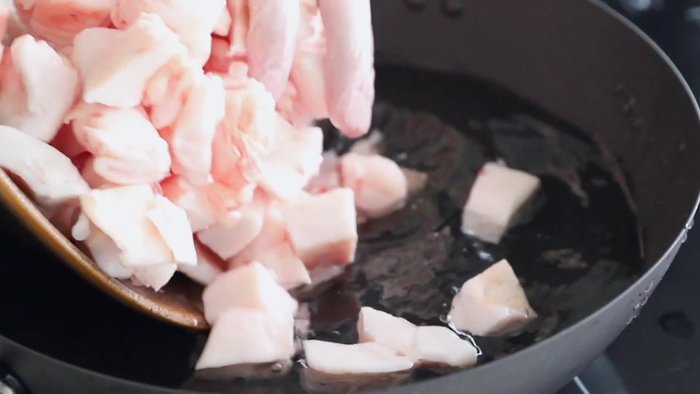
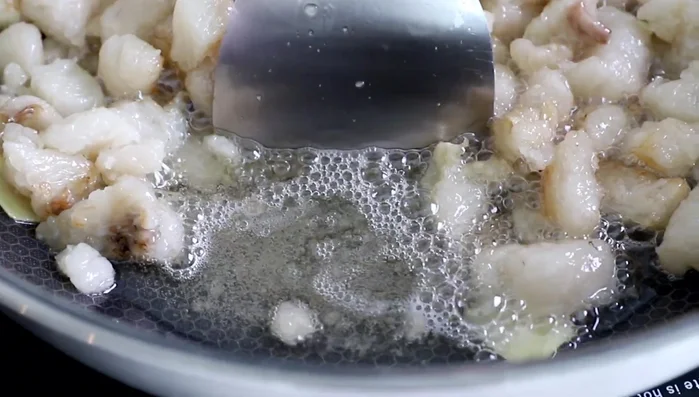
Step 2. Render the Lard
- Place the cut pork fat into a pot. (This is where the music likely plays while the lard renders.)
- Continue rendering the lard. (Heat and simmering process takes place.)
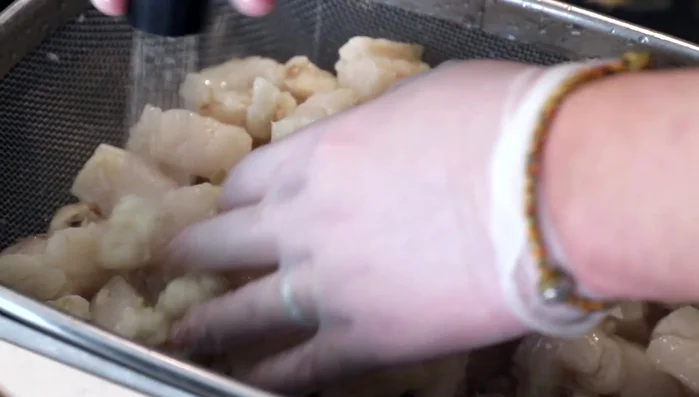
Step 3. Strain the Lard
- The lard is likely almost finished rendering. Strain the lard to remove solids.

Step 4. Store the Rendered Lard
- Finish rendering the lard. Transfer the rendered lard into a suitable container.
Read more: Chinese Wonton Soup: Thousand-Li Fragrance Recipe
Tips
- Ensure the pork fat is cut into appropriately sized pieces for efficient rendering.
- Monitor the temperature closely to avoid burning the lard.
- Use a fine-mesh strainer to remove all impurities from the rendered lard.
Nutrition
- N/A
FAQs
1. What kind of pork fat should I use for rendering lard?
Use fresh, high-quality pork fat, ideally from the abdominal cavity (leaf lard) or back fat. Avoid using fat with discoloration or a strong off-putting odor.
2. How long does rendered lard last?
Properly stored rendered lard can last for 6-12 months in an airtight container in a cool, dark place. Refrigeration will extend its shelf life.
Rendering your own lard is a rewarding experience, connecting you to traditional cooking methods and providing a superior ingredient for your culinary creations. With a little patience and these simple steps, you'll have a pantry staple that elevates everything from pie crusts to roasted vegetables. Now go forth and enjoy the rich flavor and versatility of homemade pork lard!