Ramadan, a month of reflection and spiritual renewal, is often filled with the aroma of delicious food shared with loved ones. This year, why not elevate your Iftar feasts with a delightful twist on a classic appetizer: Ramadan Spring Rolls! These crispy, flavorful rolls are not only visually appealing but also surprisingly easy to make, offering a refreshing and satisfying break from heavier traditional dishes. Imagine the satisfying crunch of the wrapper, the burst of fresh vegetables, and the delectable combination of sweet and savory flavors – all perfect for breaking your fast.
These Ramadan Spring Rolls are packed with vibrant ingredients, making them a healthy and exciting addition to your Iftar spread. We'll guide you through creating both the spring roll wrappers and the delicious filling from scratch, ensuring a truly authentic and personalized experience. Ready to embark on this culinary journey? Let's dive into the step-by-step instructions below.
Tools Needed
- Pan
- Chopper (or knife)
- Bowl(s)
- Spoon
- Non-stick pan
- Plate
- Knife
- Sieve
Ingredients
Step-by-Step Instructions
Step 1. Prepare the Flavorful Chicken Filling
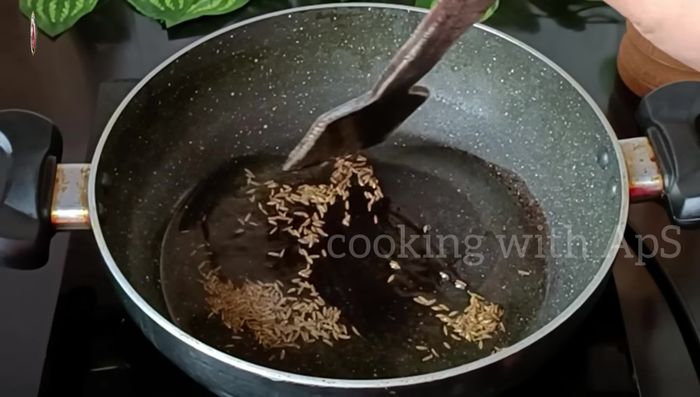
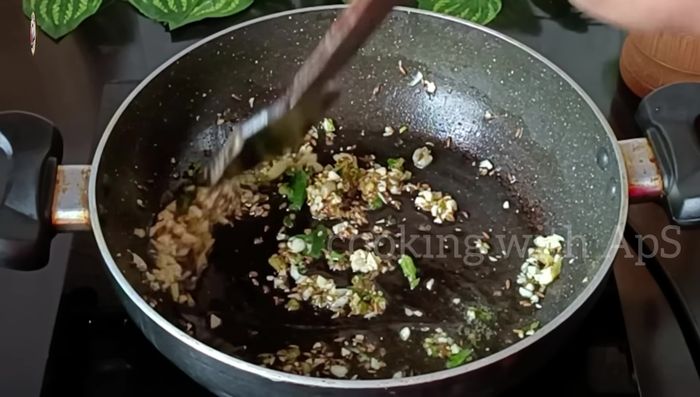
- Heat oil in a pan, add cumin seeds, and fry until golden. Add garlic and ginger, stir-fry briefly.
- Add green chilies and onions, fry until softened. Add chicken and cook until browned, then mash slightly.
- Add dry spices (turmeric, chili powder, pepper, cumin, chaat masala, coriander, and salt). Cook until fragrant.
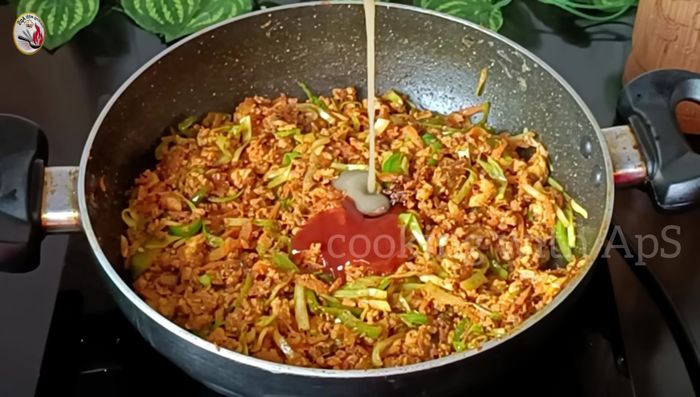
- Stir in cabbage, carrots, and capsicum. Cook until slightly tender but still crisp.


- Add tomato ketchup, soy sauce, green chili sauce, and vinegar. Mix well on low heat.
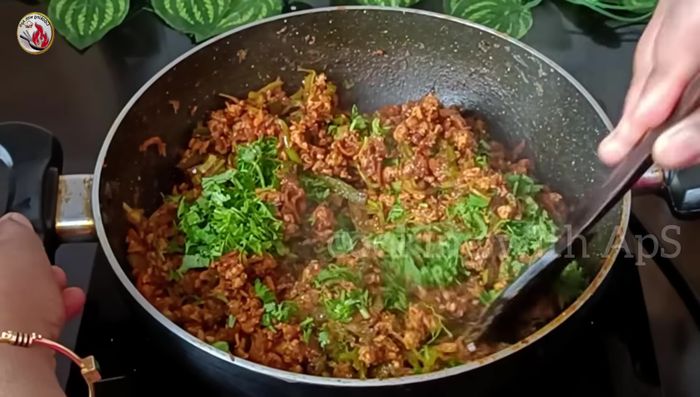
- Stir in fresh coriander and transfer to a bowl to cool.
Step 2. Create Crispy Spring Roll Sheets
- In a bowl, whisk together refined flour and water to form a thick batter. Sift if needed.
- In a separate bowl, combine corn flour, refined flour, and salt. Gradually add water, mixing until smooth and lump-free. Sieve the batter to remove any lumps.
- Heat a non-stick pan on low heat. Pour a ladleful of batter, spreading it thinly and evenly. Cook until lightly golden, then remove and place on a floured plate. Repeat until all batter is used, dusting each sheet with flour to prevent sticking.
Step 3. Assemble and Fill the Spring Rolls
- Place a spoonful of filling on the edge of each sheet. Roll tightly, sealing the edges with a little water or batter.
Step 4. Fry and Serve the Crispy Delights
- Heat oil in a pan. Fry the rolls until golden brown, turning occasionally, then drain on paper towels.
Read more: Crispy Salt & Pepper Shrimp: A Simple Chinese Prawn Recipe
Tips
- For extra-crispy sheets, use more corn flour than refined flour in the sheet batter.
- Don't overcrowd the pan when frying the spring rolls. Fry in batches to ensure even cooking.
- Store leftover spring rolls in the refrigerator for up to 1-2 days.
Nutrition
- N/A
FAQs
1. Can I use store-bought spring roll wrappers instead of making my own?
Yes, absolutely! Using store-bought wrappers will significantly reduce the prep time. Just follow the filling and assembly instructions.
2. How long can I store the leftover spring rolls?
Leftover spring rolls are best enjoyed fresh. However, you can store them in an airtight container in the refrigerator for up to 2 days. Reheat gently in a pan or air fryer before serving.
3. What can I substitute for the chicken?
You can substitute the chicken with shrimp, tofu, or even shredded pork for a different flavor profile. Adjust seasoning as needed to complement your chosen protein.
Making your own spring roll wrappers adds a special touch to these crispy chicken spring rolls, elevating them beyond a simple appetizer. The rewarding process of creating both the wrappers and the delicious filling makes these rolls a perfect dish for sharing with family and friends. So gather your ingredients and enjoy the satisfying crunch and vibrant flavors of these homemade delights!